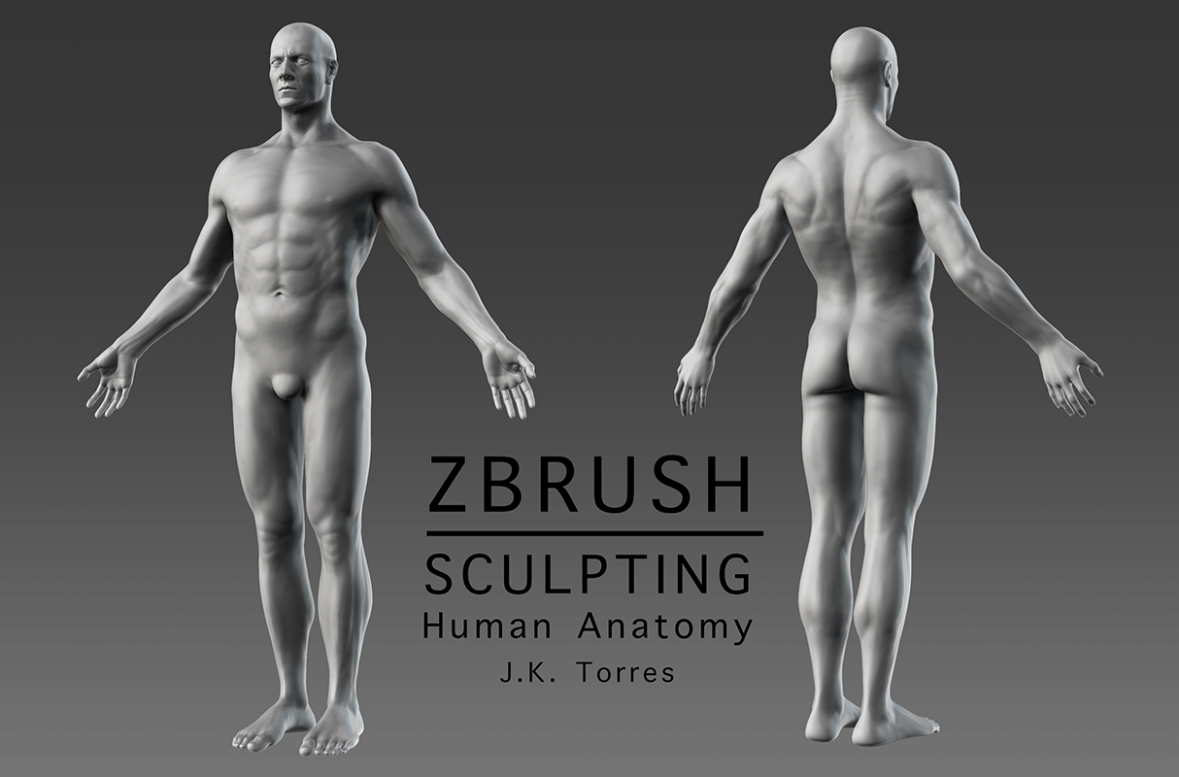
The, ZBRUSH Character Sculpting and Human Anatomy, tutorial is a collection of 23 separate recordings that teach the ins-and-outs of character creation with a marked emphasis in the implementation of correct human anatomy.
ZBrush and Maya are the tools used in the creation of the character model with about 95% of it being done in ZBrush.
This tutorial is well over 25 hours of complete instruction.
You will learn about proper anatomy, form, proportion and gesture. In addition, many of the most important ZBrush features —such as ZSpheres, Dynamesh, ZRemesher, Polypaint, masking, selection techniques, and polygroups— will be demonstrated.
Towards the end of the course we will be talking about re-topology, and the correct use of edge-loops, while creating a low-res mesh based on the hi-res sculpt using ZBrush’s ZSpheres and Maya’s Quadraw tool.
All of the tutorials were recorded in real-time (with the exemption of a very few parts that needed to be sped up), so you will get to see every little detail and mistake made during the creation of the character.
Creating Gloves for Mason’s character.
Concept sculpt of a hi-tech glove for a futuristic character’s armored suit.
This video is hi-speed sculpt with no voice narration.
All work done in ZBrush 4R6
Concept and sculpting by J.K. Torres
Game: Revolution Earth
Company: Delinquent Games Studios
